Bots in Playroom
Playroom lets you define bots for your game. These bots act the same as players; have player state, but can hold custom logic to act within the game loop.
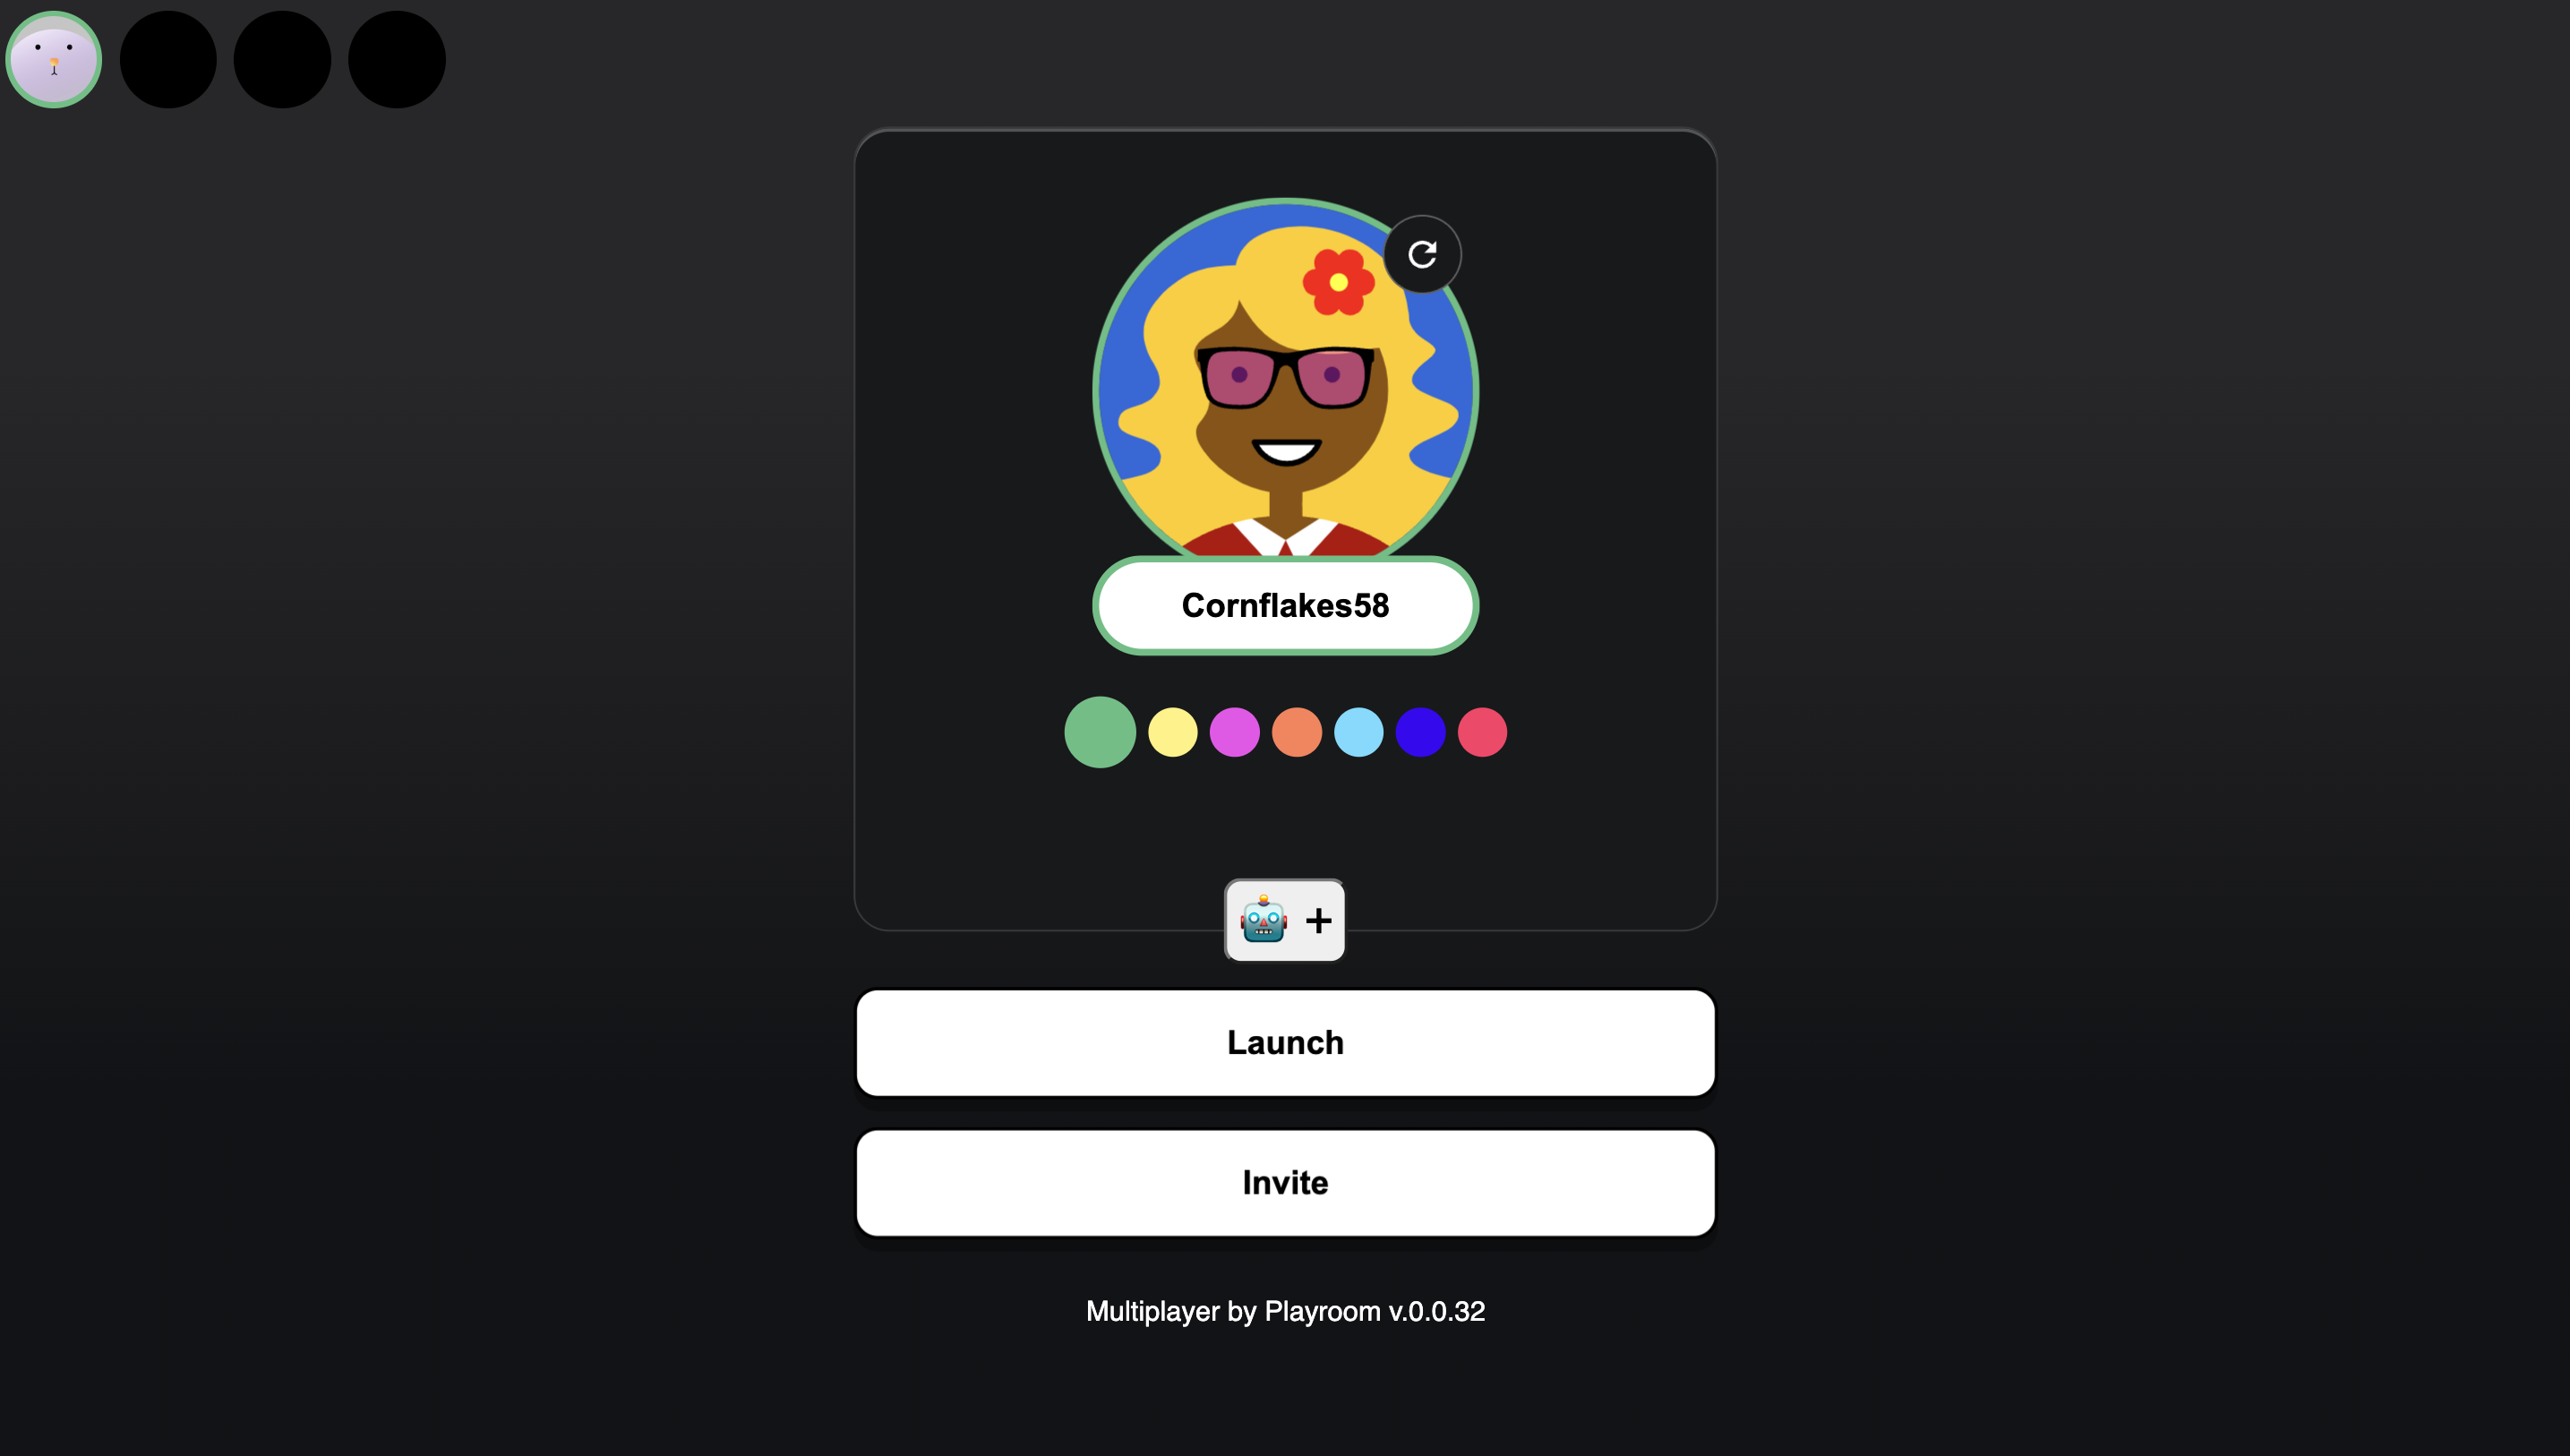
Once you set up bots, players see a new 🤖 + button which adds bots to their game room.
Why Should I Use Bots?
Playing with friends is fun but you can't always have your friends around. Having bots in your game increases engagement and retention. Bots can fill empty rooms in your game, or provide a single player experience.
Adding Bot to Your Game
1. Define the Bot Class
Start by importing the Bot class from the Playroom.
import { insertCoin, isHost, onPlayerJoin, Bot } from 'playroomkit';Extend the Bot class to create your bot with your custom game logic. Bots are essentially players, you can utilize all methods from the PlayerState API Reference. Make sure to receive botParams in the constructor and pass it to base class by doing super(botParams) in your bot's constructor.
class YourBot extends Bot {
    // Implement your bot logic and methods here

    // Sample Bot Code
    constructor(botParams) {
        super(botParams);
        this.setState("health", 100);
    }

    // A simple method for the bot to take action based on some game state
    decideAction() {
        const gameState = this.getState("gameState")
        if (gameState.enemyNearby) {
            return 'ATTACK';
        }
        return 'MOVE_FORWARD';
    }

    // Receive damage and reduce health
    takeDamage(damageAmount) {
        let currentHealth = this.getState("health")
        this.setState("health", currentHealth-damageAmount)
    }

    // Check if the bot is still alive
    isAlive() {
        return this.getState("health") > 0;
    }
}The constructor for your bot is called multiple times. If you want to set some state or perform an action only once, do it on the host using the condition if (!isHost()) return. An example is shown below.
    constructor(botParams) {
        super(botParams);
        if (!isHost()) return;
        this.setState("health", 100);
    }
2. Tell Playroom to Use Your Bot
Once your bot class is ready, use the insertCoin() method provided by the SDK to pass your bot type and its parameters. This step allows the SDK to recognize your bot.
await insertCoin({
  ... other parameters,

  enableBots: true,   // Tells Playroom to activate bots in your game

  botOptions: {
    botClass: YourBot,  // Specifies the bot class to be utilized by the SDK

    // OPTIONAL: You can define custom attributes in the botParams object if you need them during bot initialization.
    // Sample botParams
    botParams: {
      health: 100
    }
  },
})
The code above recognize bots in your game. It will provide botParams to your botClass. Here's how you'd use botParams in your constructor:
class YourBot extends Bot {
    // Implement your bot logic and methods here

    // Sample Bot with botParams Code
    constructor(botParams) {
        super(botParams);
        this.setState("health", botParams.health)
    }

    // Rest of your implementation
}
3. Try Your Bot in Playroom
Once you have defined your bot, game host see a new 🤖 + button to add bots to the game. Tap on the button to add a bot to the room.

4. Integrate Bot into the Game Loop
After initialization, the player.isBot() method allows you to check if a player is a bot or a human player. You can use this information to integrate your bot's actions within the game loop, ensuring that it interacts with the game environment as intended.
let players = [];

onPlayerJoin(async (player) => {
    // Custom logic for handling player join events.

    // Appending player to players array in order to access it within gameloop
    players.push(player);
});

function gameLoop() {
    // Custom Logic

    for (const player in players) {
        // Custom Logic

        // Bot usage
        if (player.isBot()) {
            // Logic to make the bot act within the game loop

            // Sample implementation
            if (!player.bot.isAlive()) { return }

            // Call the methods defined in your bot class
            const action = player.bot.decideAction();
            if (action === "ATTACK") {
                // Attack Logic Here
            }

            if (action === "MOVE_FORWARD") {
                // Move Forward Logic Here
            }

            // Updating the damage taken
            player.bot.takeDamage(damageAmount);
        }
    }
}